Wednesday, September 17, 2014

Stained glass panel tutorial / Passo a passo vitral

The last time I went to the US I bought lead strips for stained glass, something I had never tried before. And it works great!! I loved it. Very flexible and easy to apply. So I made a bird stained glass panel with a tutorial on how to do it. Both Michael's, Amazon and Joann's have the strips. But if you are used to glass liquid leading, just as good, but it takes more practice.

A última vez que fui aos Estados Unidos comprei um produto novo para vitral: são linhas finas de metal flexível para você utilizar nas bordas do desenho. Escolhi um com curvas para ver se funcionava bem, e é ótimo!! Amei. Infelizmente não existe no Brasil ainda. Mas eu sempre fiz vitral com a pasta relevo e o veriz que encontramos aqui e é legal também. Clique aqui e veja os produtos que você encontra online em vários sites.


TUTORIAL / PASSO A PASSO

1. First draw your panel on a piece of paper and place the glass over it, then apply the lead strips over the lines. With a spatula make very little pressure in order to assure it glues to the glass and keep going until the whole drawing is covered. Tip: never stretch the lead strip because it will shrink back and you'll end up with gaps on the drawing.

1. Primeiro desenhe a figura no papel e ponha o vidro em cima para aplicar a pasta relevo ou os "lead strips" se você tiver. Nesse passo a passo uso o produto americano. Pressione bem pouco com uma espátula para garantir a colagem. Faça isso até finalizar a cobertura do desenho. Com o produto brasileiro (pasta relevo), aperte o tubo preenchendo as linhas.


2. Now it's time to paint it. Here I have a few tips. Glass paint is not applied as regular paint, you use a fine pointed paint brush, not flat ones. Also, you never spread the paint, you drop it making sure all area is covered. If you make any pressure it will show in the future. Here is how you do it:

2. Chegou a hora de pintar e aqui tenho várias dicas, vitral é cheio de detalhes. O pincel tem que ser bem fino e pontiagudo e a tinta nunca deve ser passada com movimentos, você deixa ela cair em gotas e vai preenchendo os espaços assim. Se pincelar, isso fica marcado e o vitral perderá sua transparência, fica tudo evidente. Veja aqui:


And with the sun, the panel finds its place.  :)
If you have any doubts, let me know and comment.

O vitral deve ser exposto ao ar livre para que o sol realce seu valor.  :)
Dúvidas? deixe comentário.


Saturday, September 13, 2014

Watercolor card ideas / Cartões em aquarela

I've been into watercoloring lately, watching tutorials online on how to apply watercolor technique on cards. Actually, all these were made using stamp inks (water based), so in reality I never used watercolor, just made it look like it. You can find tutorial on Youtube.

Estou num momento aquarela. Na verdade, tenho assistido vídeos on-line sobre como aplicar uma técnica que transforma tinta para carimbos (à base d'água) em "aquarela". Fica super parecido. Fiz esses cartões ontem à noite.


Thursday, September 11, 2014

Stained Glass Bird and Flower / Vitral flor e pássaro


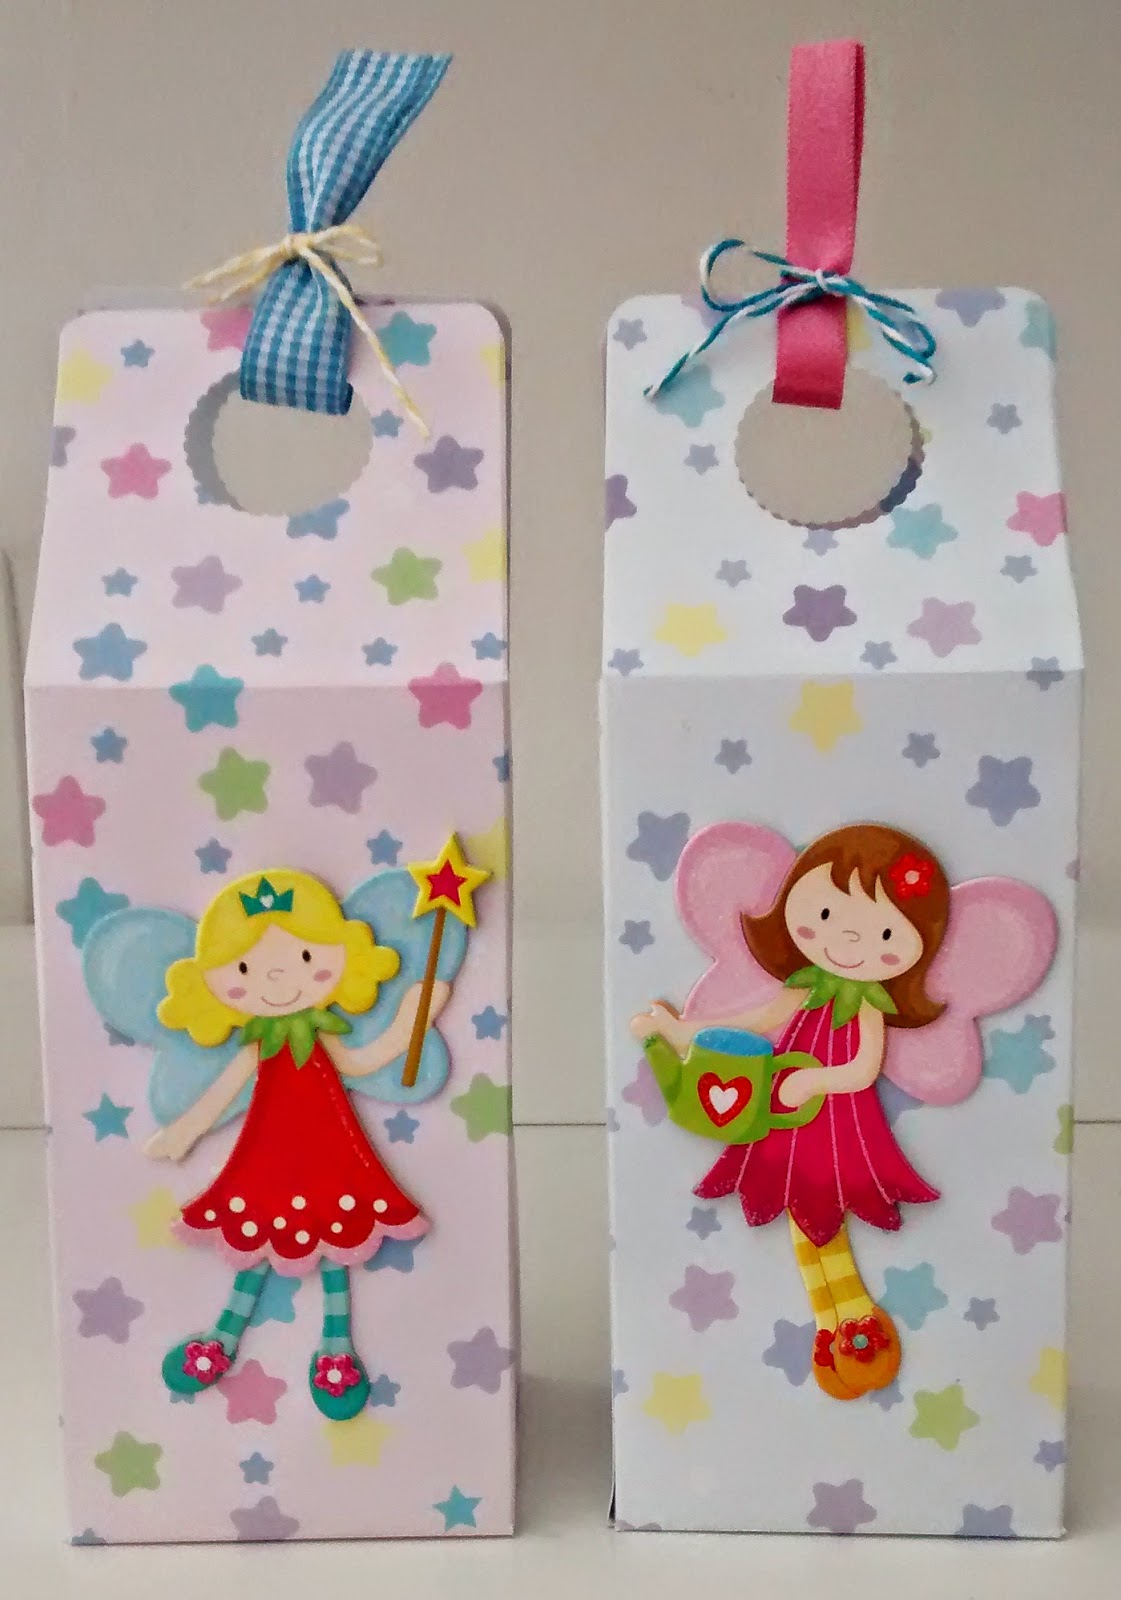
Girl's birthday fairy treat boxes / Caixa niver menina (fadas)

My friend's daughter is having a fairy birthday party and asked me to make the kid's treat boxes. here they are.

A filha de minha amiga terá um aniversário com o tema "fadas" e me pediu para fazer as caixinhas de lembranças das crianças. Aqui estão.


Monday, September 8, 2014

Christmas kits and boxes / Kits e caixas de Natal

It's time to begin making Xmas cards and kits for friends and sometimes they also come with a box. This week I made to huge kits for two friends who live abroad, so I decided to pack it accordingly. Here they are:

Nessa época do ano preparo cartões e kits para meus amigos. Essa semana criei dos kits grandes para duas amigas que moram nos EUA, então decidi fazer caixas para guardar tudo. Aqui estão:

Kit one and box / primeiro kit com caixa:


Kit two and box / Segundo kit e caixa:


Tuesday, September 2, 2014

A miniature kitchen / Uma cozinha miniatura

This box was made for a friend of mine. She will give this present to her friend Emilia who is a chef. The final size is 13 (width) by 4 inches (depth).

Essa caixinha foi feita para uma amiga, será um presente para uma amiga dela que é chef. A caixa tem 33 cm de largura por 10 cm de profundidade.


Christmas Card Ideas / Cartões de Natal

We are getting close to Christmas and it's time to begin creating. I usually make some to send out as presents way ahead of time so that my friends can send them to their loved ones. These are the first ones I've made and I'll be adding more with time.

Estamos perto do Natal e já comecei a criar alguns cartões. É que gosto de fazer kits para mandar bem antes de dezembro, são presentes para que meus amigos tenham cartão para usar no Natal e enviar pelo correio. Nesta página acrescentarei mais cartões ao longo dos próximos meses.


Related Posts Plugin for WordPress, Blogger...
Pin It button on image hover