Monday, September 28, 2015

Christmas Tree box / Caixa de Natal com árvoes

This gift box was made using the Bow Builder Punch by Stampin' UP and by cutting the trees with a scalloped punch. It measures 4x4x4 inches.

Mais uma caixinha de Natal. Nessa eu usei um cortador de laço da Stampin' UP e árvores. Suas medidas são 10x10x10 cm.


Christmas Ornament box / Caixa de presente natalino

I've been making a lot of Christmas boxes lately, some are gifts for friends and some I will use for my gift wrapping in November. Here is the latest, it measures 4x4x4 inches.

Tenho feito várias caixas de papel para presentes de Natal, algumas serão presentes e outras são para os meus que devo começar a embrulhar logo (sou super adiantada para o Natal). Essa foi a última, fiz ontem, mede 10 x 10 x 10 cm.


Thursday, September 24, 2015

Little Christmas box / Pequena caixa natalina

Here is a little gift box option for you. For the video tutorial on Stampin With Amore's Youtube channel, click HERE.

Mais uma opção de caixa para presente. Se quiser aprender como fazer, assista ao vídeo do canal Stamping With Amore, clique AQUI.


Christmas shadowbox / Relicário natalino

As you can tell on my blog, I love shadowboxes of all kinds and I just now learned how to make one with paper. It's not very easy, especially gluing the two last corners, quite frustrating at first, but as with everything else, you get the hang of it after a while. This is the first one I made (yesterday) with a Christmas scenery. If you wish to make one, click HERE for a link to see a video tutorial on the Crafty Spark Youtube channel.

Esse tipo de caixa se chama relicário e normalmente achamos em madeira. Recentemente, aprendi a fazer um em papel, esse foi meu primeiro. Leva um tempinho para aprender a colar as bordas, mas nada tão complicado. Se quiser ver um vídeo com o passo a passo, clique aqui.


Tuesday, September 22, 2015

Intricate gate card / cartão

I absolutely love this die, it's Spellbinders Shapeabilities D-Lites Die-Gilded Gate 2. This was the first card I made using it, but you can use your imagination, it really adds beauty to your creation.

Eu comprei esse cortador há pouco tempo e esse é o primeiro cartão que faço utilizando o "Spellbinders Shapeabilities D-Lites Die-Gilded Gate 2", qualquer coisa fica lindo com esse portão, é bem delicado.


\


Monday, September 21, 2015

Christmas tags / Etiquetas Natalinas

I love making tags because you vary your stamps, sizes, it's limitless. These were made using Stampin' UP Wonderous Wreath stamp set and dies, one of my favorite. I was inspired by a video tutorial made by Crafty Caroline Creates, if you want to see it, click here. It's a perfect gift for the holidays.

Adoro fazer etiquetas para o Natal porque dá para usar quase todo tipo de carimbo, variar no tamanho, cores... Nesse kit eu usei o carimbo "Wonderous Wreath" da empresa Stampin' UP, inspirada por um vídeo com passo a passo da blogueira Crafty Caroline Creates. Se quiser aprender, veja o vídeo clicando aqui


Tuesday, September 15, 2015

Vintage Card Kit B&W / Cartões Vintage preto e branco

This black and white card kit was made for my cousin Eveline, she is the clean and simple kind, and loves vintage, just like me. For these cards I used a few stamp sets and wrapped it in black ribbon.

Fiz esse kit de cartões para minha prima Eveline, ela é do tipo "clean" e adora vintage, como eu. Utilizei alguns carimbos e os embrulhei com fita preta.


Friday, September 11, 2015

Decorated candle / Vela decorada

I made an image transfer to this candle for my cousin (she's a designer, so clothes are a big thing for her). Since I didn't have enough paper to make a box with a lid, I had the idea to add a ribbon around it and wrap the candle with plastic. In the end, now I believe it looks better than if it had been a regular box. For the image transfer technique, click here and watch this video tutorial. It used a stamped image, but if you print (laser only!!) on regular paper you can apply it the same way.

Fiz uma técnica de transferência de imagem nessa vela, um presente para minha prima que é designer. A caixa deixei aberta em cima porque não tinha papel suficiente, aí tive a ideia de colocar uma fita e envolver a vela em plástico. No final das contas, achei que ficou melhor assim que se tivesse tampado a caixinha. Se quiser aprender a técnica de transferência, clique aqui para assistir a um video passo a passo. Nesse vídeo ela usa uma imagem carimbada, mas se você tiver uma impressora (a laser!!) pode usar qualquer imagem da internet e imprimir em papel comum. Funciona do mesmo jeito.


Wednesday, September 9, 2015

Wooden letters / Letras em MDF

It doesn't get much personalized than this :) Wooden letters covered with beautiful paper and here you have a perfect gift to say "this was made for you".

Mais personalizado que isso impossível! :)  Letras em MDF cobertas com papel, um presente especial e único.


Tuesday, September 8, 2015

Christmas gift boxes / Caixas de presentes de Natal

As you know I love making gift boxes and Christmas is around the corner so I have begun to make some using windows as embellishments. If you want to check my tutorial for these windows, click here

Como você sabe, adoro fazer caixas de presentes e como o Natal já está chegando, comecei minha produção do ano porque costumo enviar algumas caixas para amigas no exterior. Essas aqui foram feitas utilizando janelas como decoração. Se quiser ver o passo a passo de como fazê-las, clique aqui


Christmas windows tutorial / Janelas natalinas

I love using windows as embellishments. You can create any kind of scenery you want and it's perfect for Christmas items such as cards and gift boxes. Here I will show you three different options with tutorials on how I made two of them. And right below, how you can use it on a box lid.

Adoro criar janelas com cenas diferentes e usá-las em cartões e tampas de caixas de papel. Como já comecei minha produção natalina, mostro aqui 3 janelas com esse tema e mostro como criei duas delas num passo a passo. No final, o resultado e como as utilizei em caixinhas.


TUTORIAL / PASSO A PASSO

1. The first thing to do is cut your window, you can do it by hand making an easier version, such as a square one or use a window die. Here I used the Sizzix Thinlit Conservatory Window Die. The next step is to create your scenery.

1. A primeira coisa a fazer é cortar uma janela no formato que quiser, as quadradas são mais fáceis de fazer à mão. Eu usei aqui aqui um cortador específico, mas você pode fazer como quiser com tesoura. O próximo passo é criar o cenário.

2. To make the moon, cut a circle on a post-it note paper so that the glue helps it stay still while you color your paper. Make sure to hold it while you color the whole area. Remove the circle and then use your stamps depending on what you have. The last thing to do is to glue the window over the paper (I used double sided foam tape to give it some dimension.

2. Corte um pedaço de papel um pouco menor que a sua janela (isso será colado mais tarde). Nesse cenário noturno, para fazer a lua, corte um círculo numa folha de Post-It porque a cola permitirá que o papel não mova. Pinte todo o papel, segurando a lua e a retire no final. Por último, carimbe o trenó e as casinhas, use os carimbos que tiver e crie seu próprio desenho. Por fim, cole a janela e ponha um laço.


THE SECOND WINDOW SCENERY / SEGUNDA OPÇÃO

1. This one is even easier, just cut the paper smaller than your window and stamp a Christmas tree. I also stamped a cat, cut it and glued it outside the window to make it look as if the cat was outside looking at the tree.

1. Esse é bem fácil, corte o papel menor que a janela e carimbe uma árvore de Natal. Também carimbei e cortei um gato, colocando-o do em cima da janela para dar impressão de ele estar olhando para a árvore.


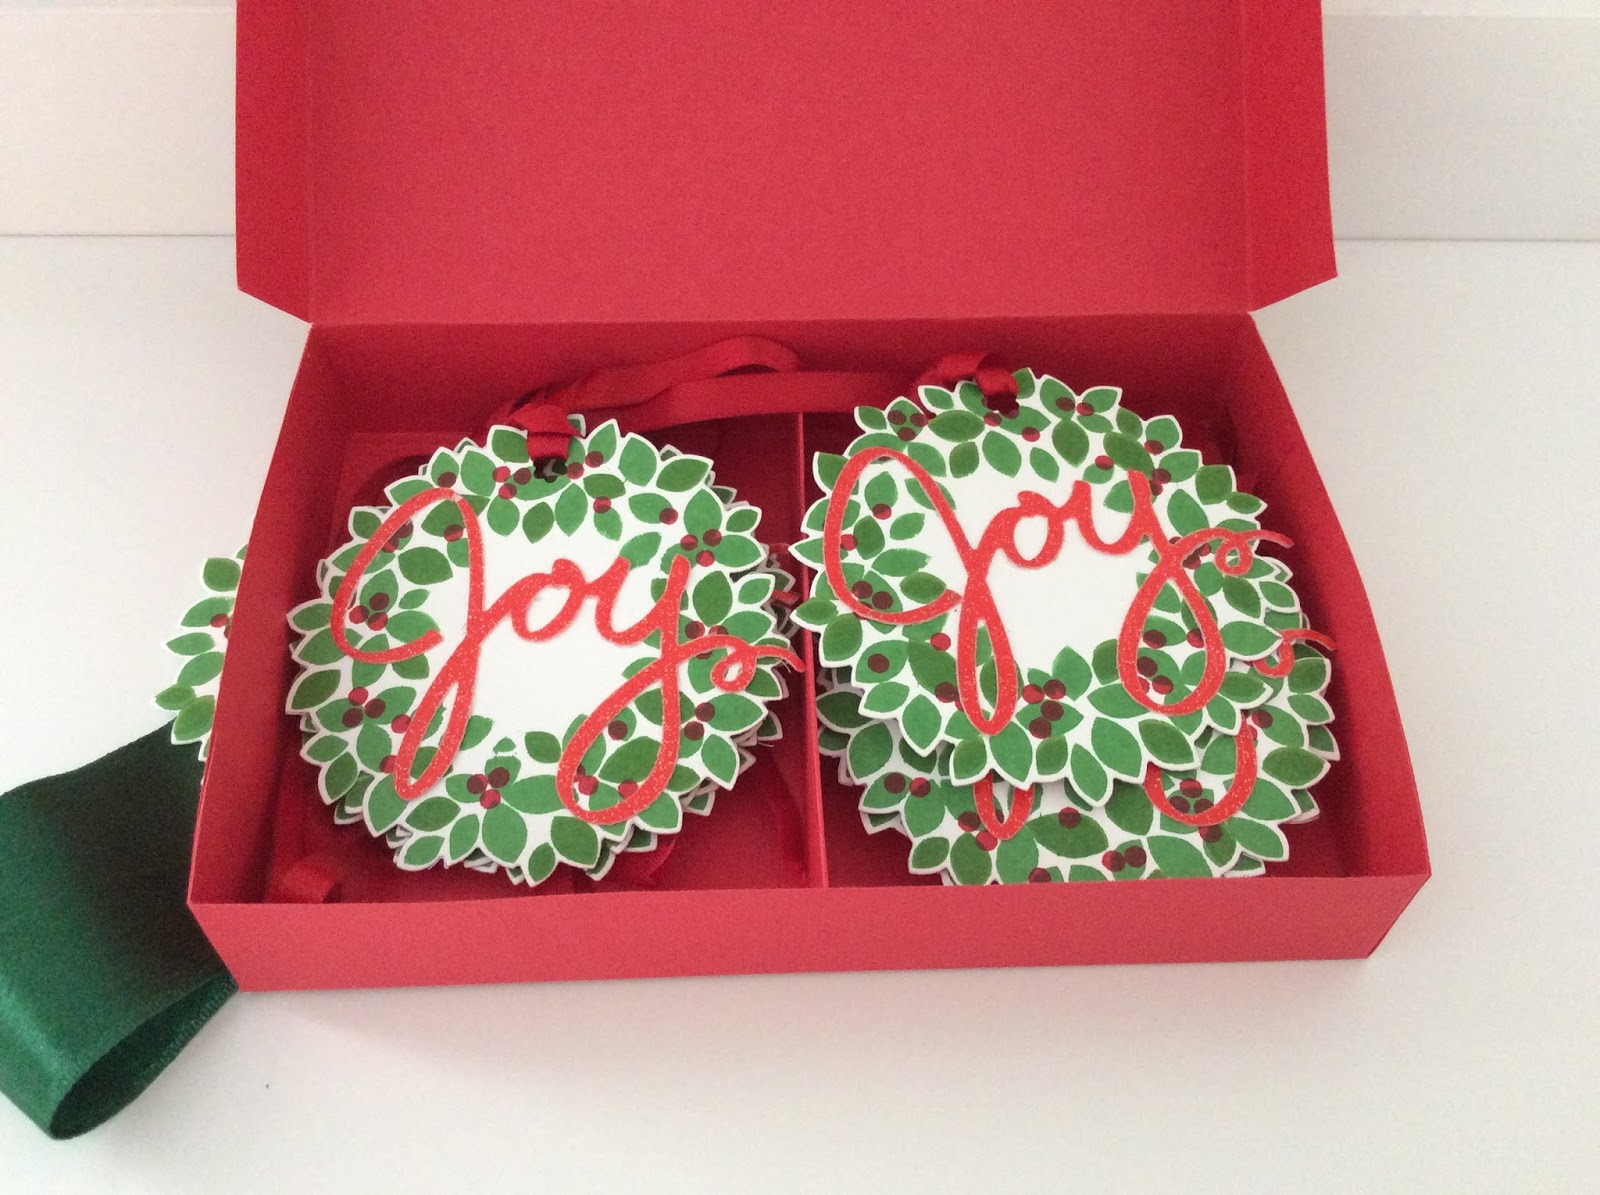
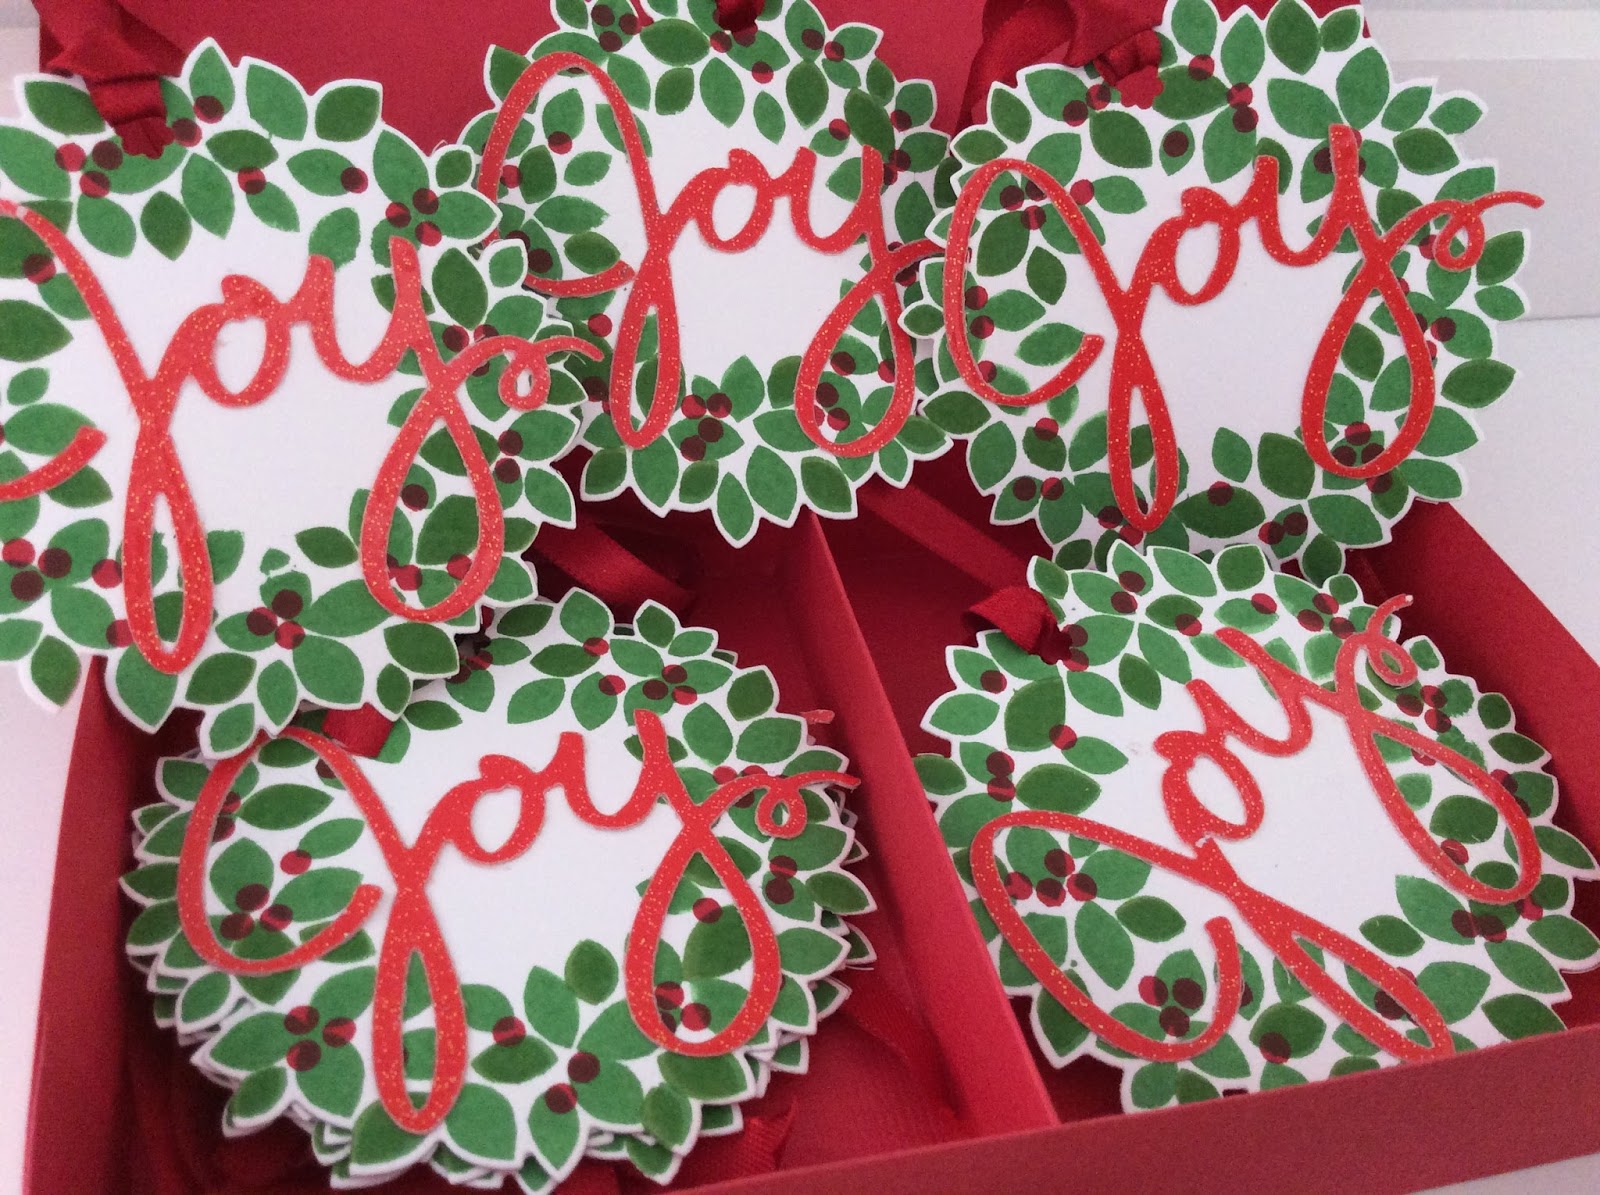
AND HERE ARE THE BOXES / AS CAIXAS PRONTAS


Related Posts Plugin for WordPress, Blogger...
Pin It button on image hover