
Eu estou sempre procurando maneiras criativas de fazer caixas de papel e essa técnica é bem simples e faz grande diferença. Ao invés do quadrado básico, basta cortar uma página de papel no formato que quiser e colar em cima e embaixo. Depois das fotos você pode ver um passo a passo.


TUTORIAL / PASSO A PASSO
1. Cut the paper in the shape you want. For these boxes I used two different framelits: Stampin'UP labels collection and Sizzix 5P fancy framelit die set. I used two sizes so that I would have a contrast, also because it looks really nice on the lid. This one was made using the two largest (Sizzix).
1. Corte o papel no formato que quiser que seja o topo, faça o mesmo para a base. O papel que eu uso não é muito grosso, por isso uso duas camadas. Também fica bonito na tampa.

2. Embellish the lid only and create a scenery.
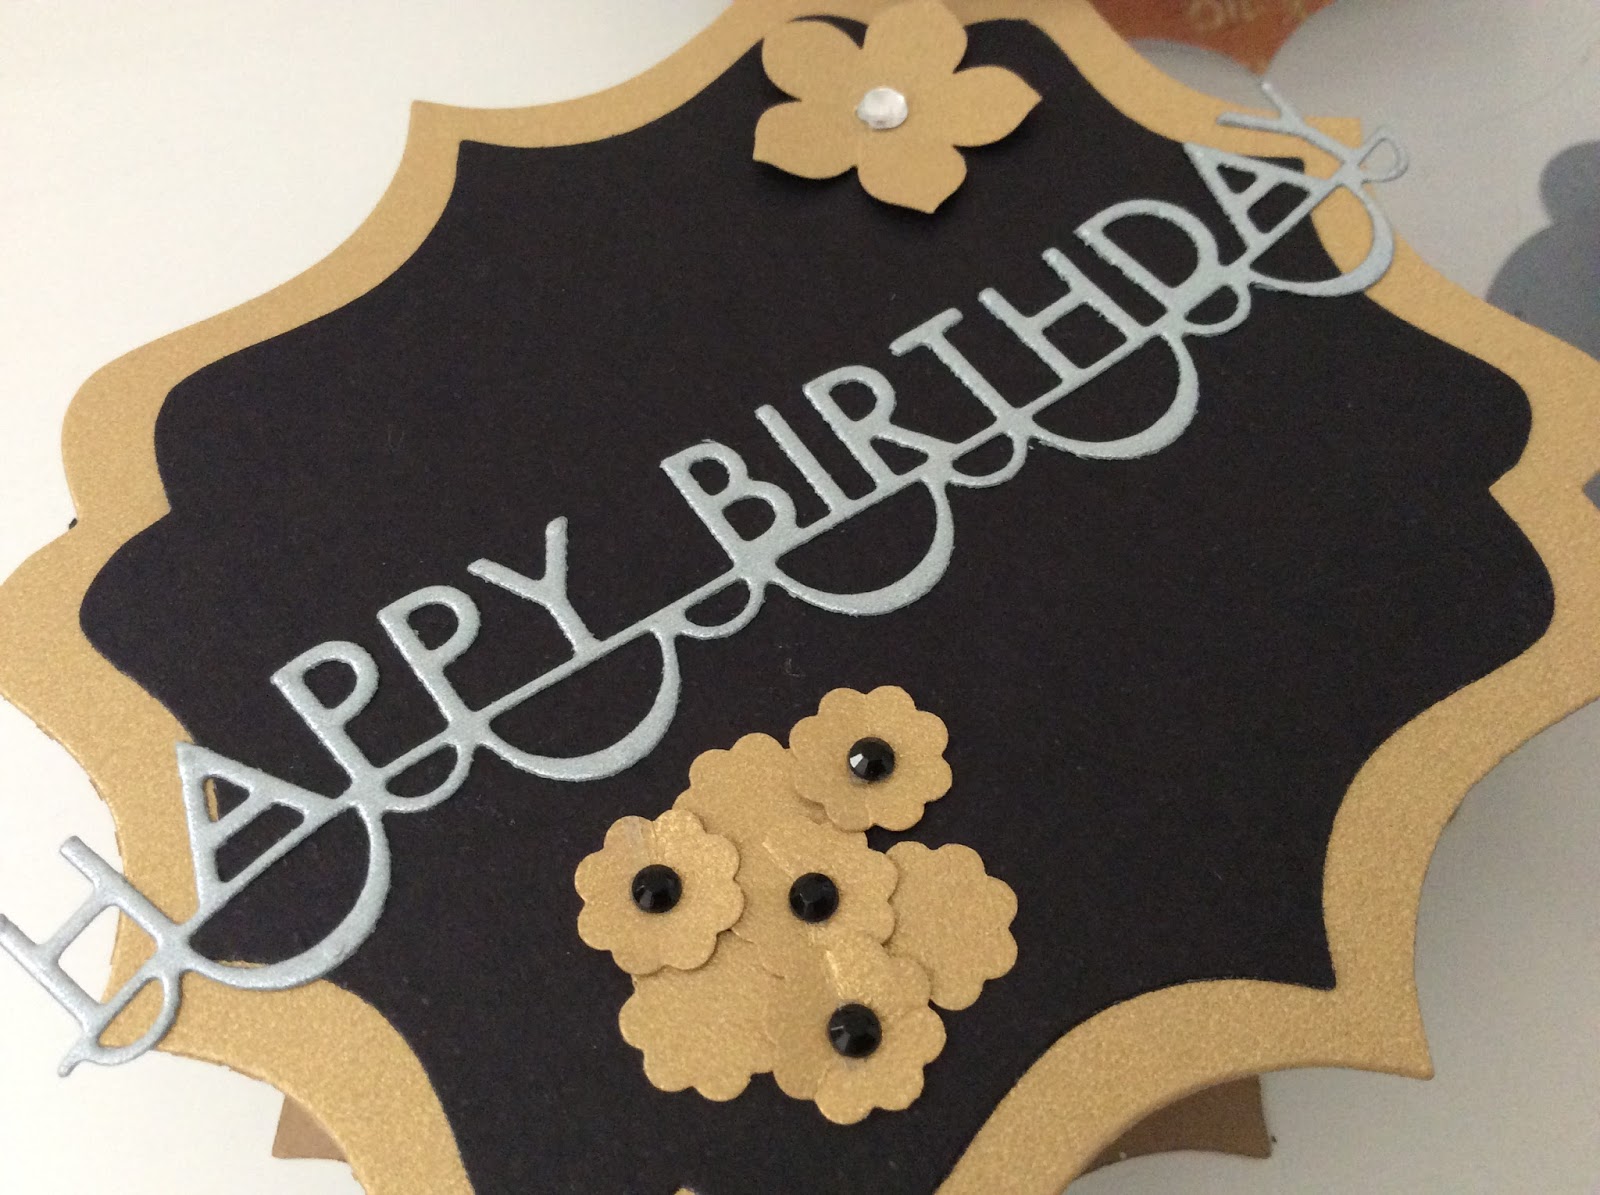
2. Crie o cenário que quiser utilizando vários materiais decorativos.


3. Make your box in a size that fits within the framelit area. In this case mine measure 3" by 2-1/2 and 1-1/4 height. I actually thought it was a bit large, so I will make it smaller next time. Just use your rule to find the right size. This is just a regular rectangle box. Glue the lid and base and close the box, easy as that!!
3. Faça uma caixinha que caiba dentro da forma. Nesse caso eu até achei depois que ficou grande, as próximas ficaram menores. Cole e pronto!


Here, the sceneries in detail.
Aqui, os cenários em detalhe.
This one uses the Stamping' UP labels collection.

No comments:
Post a Comment