
Minha amiga Raquel dança balé, fiz essa caixinha pra ela, aproveitei uma foto dela vestida de Lago dos Cisnes. Aqui vai o passo a passo:
1. Put together your ideas: materials, images and always a personalized picture. Rachel is the on in the frame.
1. Junte os materiais que você vai precisar: uma foto da pessoa é o divisor de águas, claro.

2. Google Images is great for finding pictures. Glue the ones you like.
2. O Google Images é ótimo para encontrar foto do tema que você precisa.

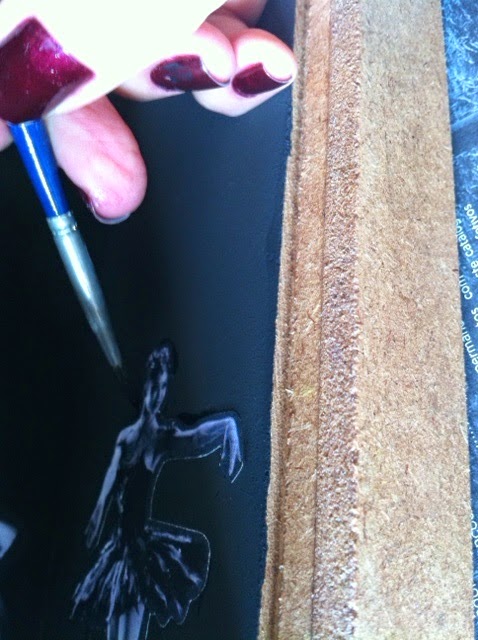
3. Here the background was black, so I painted the sides of the paper in order to blend it with the dark wall.
3. A cor principal que usei aqui foi preto. Para ficar mais bem acabado, pinte o lado do papel cortado, senão fica uma diferença entre o contorno e a parede.
4. And added Rachel's picture.
4. Acrescente a foto.

5. I found some great miniature ballerina slippers, so I sewed them together for the bottom of the box.
5. Encontrei umas miniaturas de sapatilhas, deu um toque à caixinha.

6. And of course, feathers!!! Swan Lake after all..
6. Em se tratando de O Lago dos Cisnes, claro que acrescentei várias plumas.

7. I must say this was the hardest part: I sewed the dress. Yes!!! Made it look like the picture I found online.
7. Aqui veio a parte mais difícil. Fiz o vestido igual ao modelo que encontrei online. Mas deu um toque todo especial.

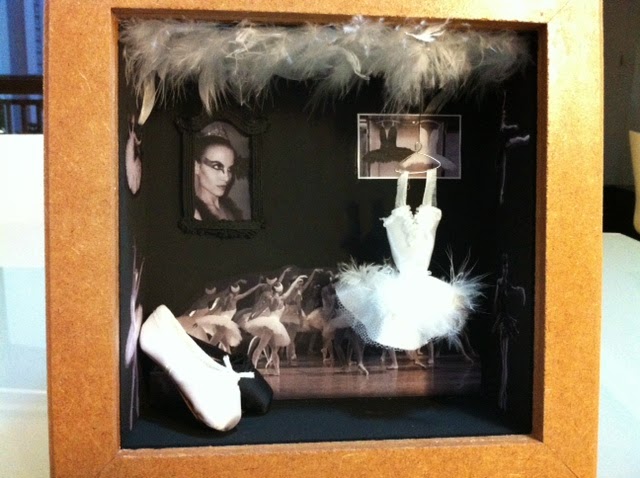
8. On the left side, the white swan.
8. No lado direito, o cisne negro; no esquerdo, o branco. E pronto, caixinha terminada.

9. On the right, the black.

10. In the center, the ballet corps.
10. No centro, o corpo do balé.

11. And here is Rachel in her enchanted Swan Lake Box.
11. E aqui está a Raquel em sua caixinha encantada.


Lindo trabalho!!!
ReplyDeletePaula Coelho