Showing posts with label General crafts / Peças Gerais. Show all posts

Monday, September 21, 2015

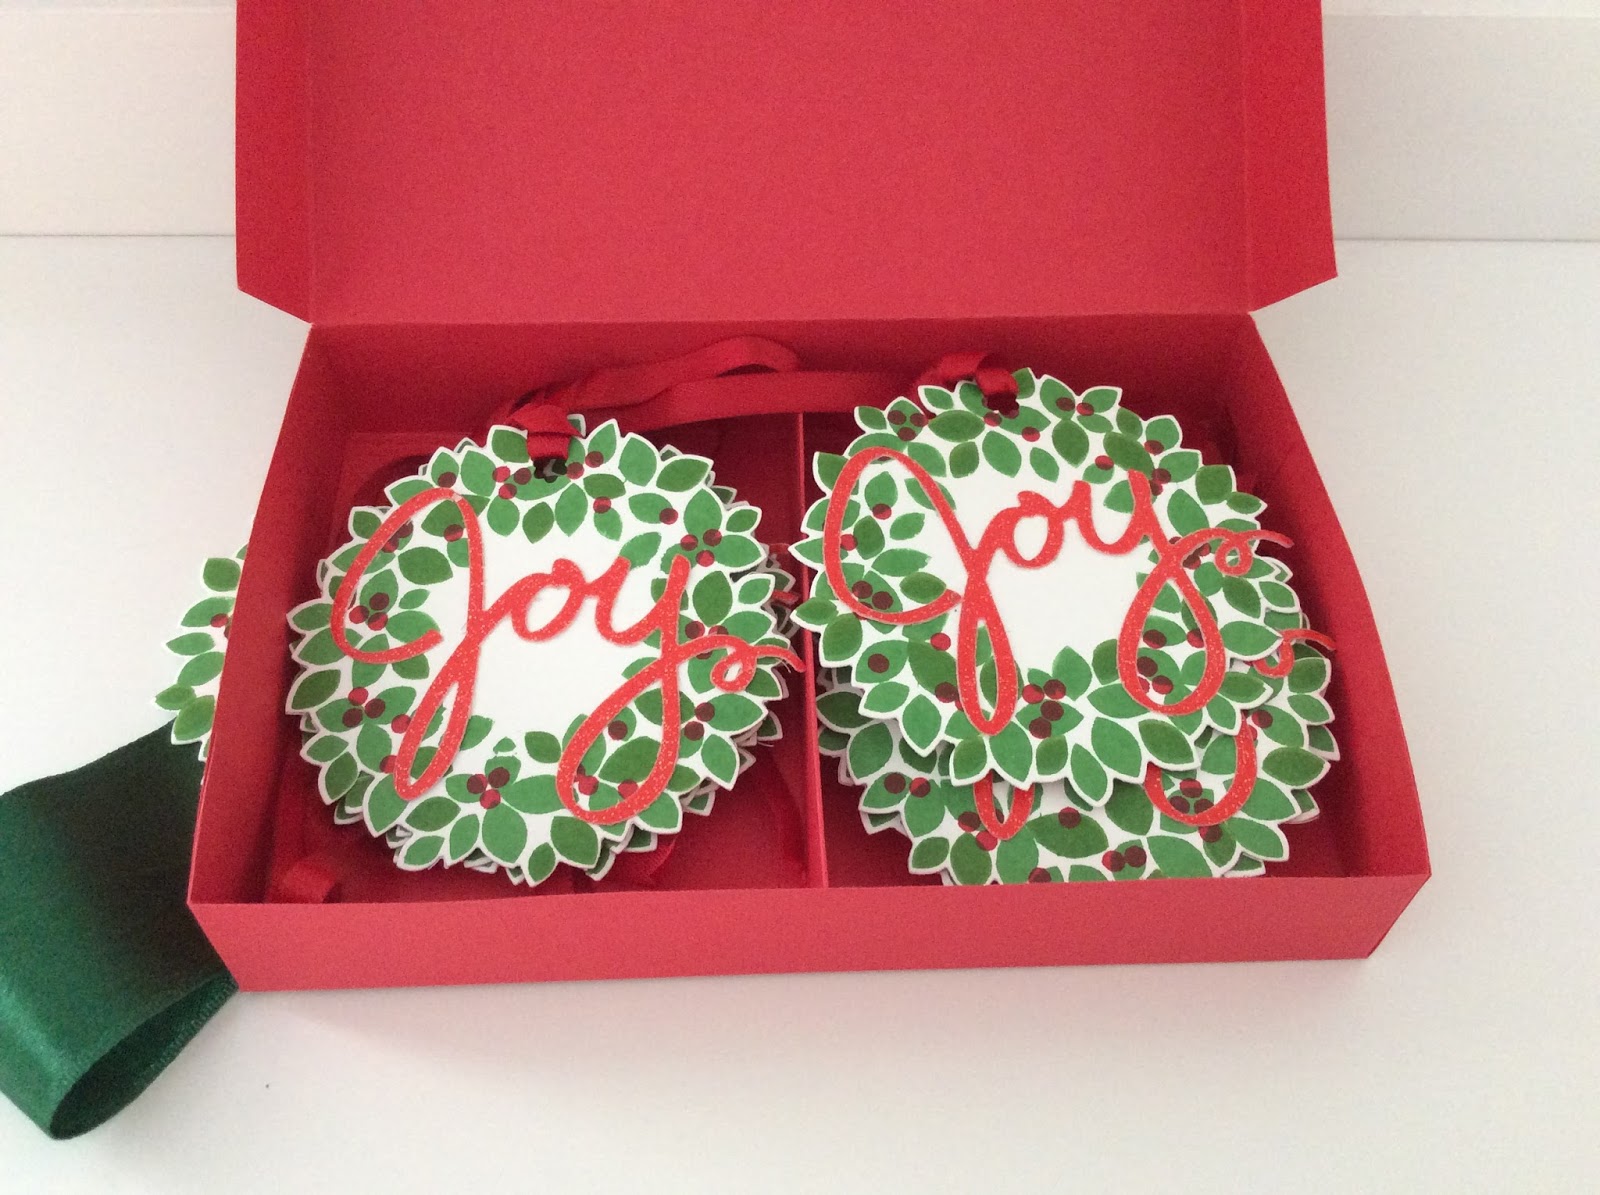
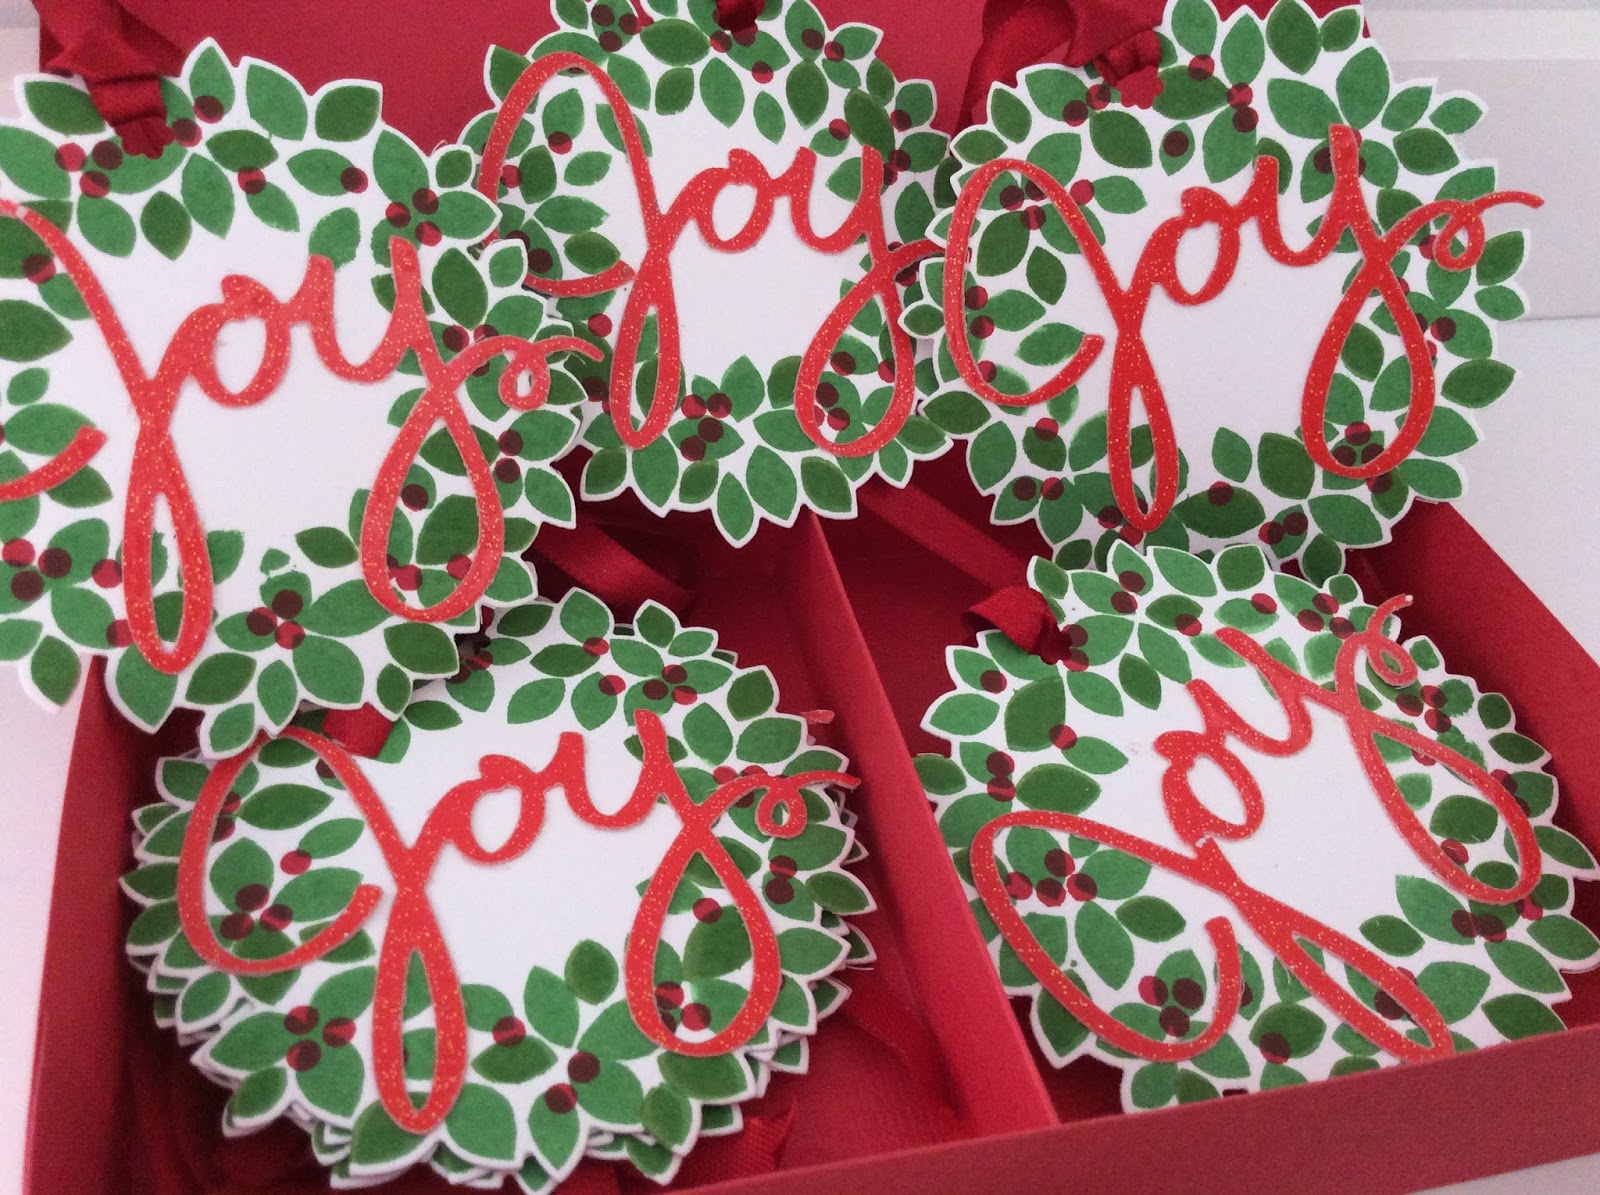
Christmas tags / Etiquetas Natalinas

I love making tags because you vary your stamps, sizes, it's limitless. These were made using Stampin' UP Wonderous Wreath stamp set and dies, one of my favorite. I was inspired by a video tutorial made by Crafty Caroline Creates, if you want to see it, click here. It's a perfect gift for the holidays.

Adoro fazer etiquetas para o Natal porque dá para usar quase todo tipo de carimbo, variar no tamanho, cores... Nesse kit eu usei o carimbo "Wonderous Wreath" da empresa Stampin' UP, inspirada por um vídeo com passo a passo da blogueira Crafty Caroline Creates. Se quiser aprender, veja o vídeo clicando aqui. 


Monday, August 10, 2015

French style tray / Bandeja francesa

I absolutely love the distressed look of patina. This tray was plain wood: I applied a coat of dark blue underneath and white over it, then sanded it to give it an old look. The image was applied using the image transfer technique, you can see how to do it here with Tracy Pendergast.

Eu adoro usar a técnica de pátina nos meus objetos. Essa bandeja foi feita com camada de azul escuro embaixo e branco em cima, depois eu lixei par dar esse acabamento. A transferência da imagem você pode aprender a fazer assistindo esse vídeo de passo a passo, clique aqui no canal da Revista Artesanato. 


Golden Placemats / Suplats Dourados

Placemats are great to add a touch to your table setting. I made these for my boyfriend who just moved into a new apartment. Since his plates have tiny golden dots and stripes, I decided to paint these wooden placemats and added 3 different stamps, so that he would have options for shorter parties.

Suplats são objetos que dão requinte à mesa, um daqueles detalhes que fazem a diferença. Fiz esses em MDF para meu namorado que acaba de mudar para um apartamento novo. Como os pratos têm listas e detalhes dourados, optei por essa cor e acrescentei 3 tipos de carimbos diferentes.


This is one of the stamps I used / Esse foi um dos carimbos


Tuesday, July 21, 2015

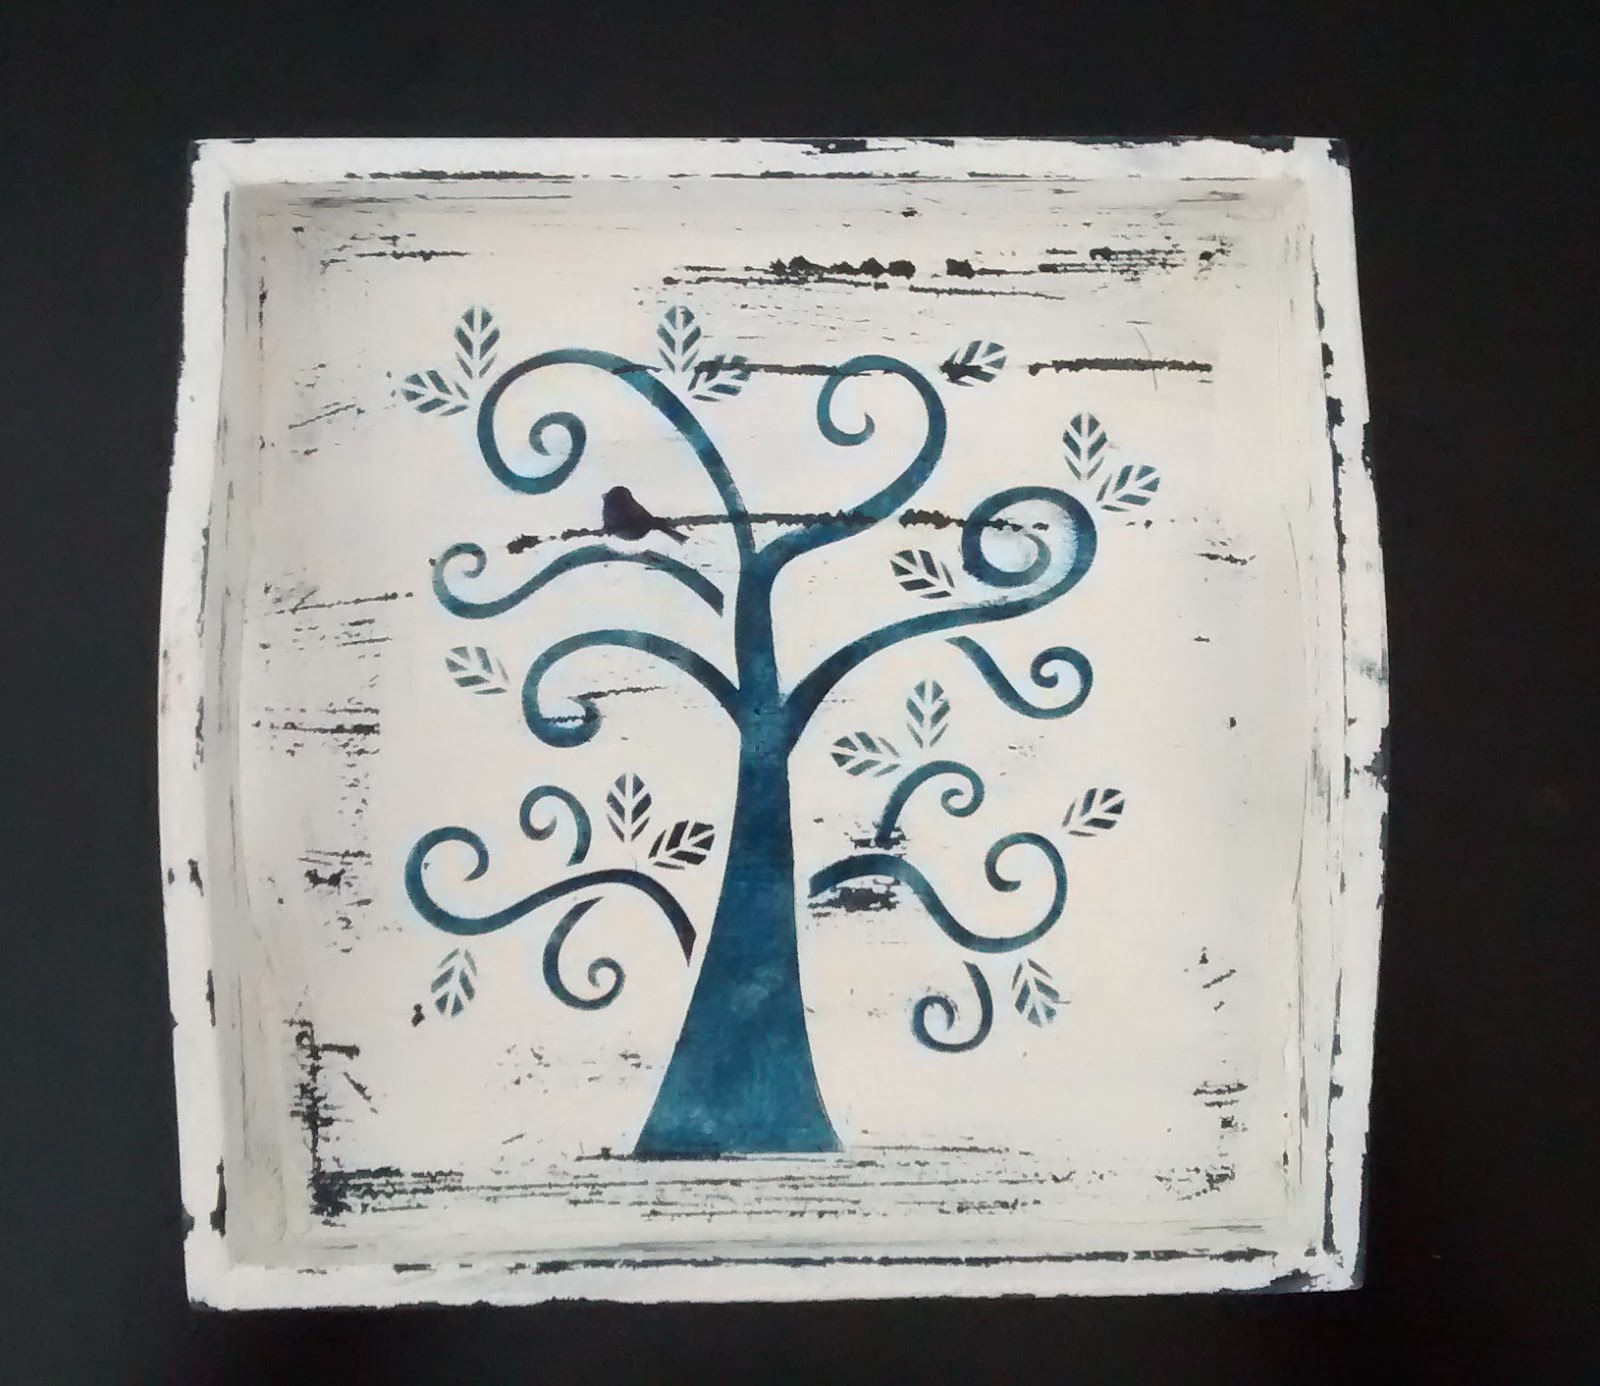
Klimt style tray / Bandeja com árvore estilo Klimt

I love the Austrian painter Gustav Klimt and his famous trees are a trademark. I found a stencil with a look-alike Klimt tree and I just had to use it! :)  I painted this tray using the patina technique with blue underneath with the stencil on top. Here is the final result and the original Klimt tree so that you have a hint of his beautiful art.

Um de meus pintores favoritos é o austríaco Gustav Klimt. Achei um stêncil com o desenho de uma árvore muito parecida com as dele, que são imitadas até hoje. Pintei essa bandeja em MDF com pátina usando azul no fundo e o stêncil. Antes da bandeja, veja a árvore original, uma introdução à arte do Klimt, para quem não o conhece.


The Original Klimt tree


Now my tray


Vintage Wooden Box / Caixa MDF Vintage

Vintage is definitely my favorite style, you just can't compete with ladies like this one I used on the top of the wooden box. For this I used the patina painting technique, stencils, ribbon and decoupage.

O estilo vintage é meu favorito, principalmente para caixas. Acho lindas as imagens desse tipo. Nessa caixa em MDF eu usei pátina com efeito envelhecedor, stencil, fita e decoupage.


Angel box / Caixa MDF decorada com papel

I usually paint wooden boxes, but in this case I decided to use paper instead and I love the result. For this I used double sided cardstock both inside and out and some embellishments. I only painted the sides on the inside and the base. Is the angel cute or what?

Eu normalmente pinto caixas de MDF, mas aqui decidi cobrir com papel, dentro e fora. Achei que a união tinta/papel ficou super legal, além do anjo que é fofo.


Friday, June 5, 2015

Crystal bracelets and earrings / brincos e pulseiras de cristal

Jewellry making is one of my passions, even though I have put it aside lately (paper crafting has been taking a lot of my time now). I made these for a few friends, their birthdays are coming up, so I will be ready. And of course, now I need to make the boxes!! :)

Sempre amei fazer bijuterias finas, embora tenha deixado essa paixão de lado ultimamente, até porque ando fazendo muita coisa em papel. Esses dias fiz esses kits de pulseira/brincos e pulseiras com cristais e prata. Agora, preciso fazer as caixinhas!! :)


Tuesday, October 21, 2014

Baby shower guest book / Livro de visita chá de bebê

My cousin is having her second baby and needed a guest book. I placed a few envelopes with a blank note card inside so that the guests could leave a message for the parents and the baby. They can also use blank pages for that and I left a few for pictures.

Minha prima vai ter sua segunda filha e precisava de um livro de visitas. Dentro do caderno eu coloquei alguns envelopes com papel em branco para que os convidados pudessem escrever mensagens para os pais e o bebê. Eles podem também utilizar as páginas em branco decoradas e no final deixei algumas para colagem de fotografias do chá de bebê.


Thursday, September 18, 2014

Earring holder / Porta brincos

Oh, what a nice frame and wire can do... turn it into an artsy earring holder.

Transforme uma moldura e pedaços de arame em um porta brincos original. Eis o resultado:


Tuesday, August 5, 2014

Earring Holder Tutorial / Tutorial de porta-brincos

This is a great and easy-to-make earring holder. All you need is a picture frame (here I used a 8x8 in), paper, double-sided foamy tape, scissors and plastic canvas. The tutorial is pretty self-explanatory:

Esse porta-brincos é super fácil de fazer, aqui você encontra o passo a passo:


Cut the paper and canvas the same size as the measure on your picture frame.

Corte o paper e o plástico perfurado do mesmo tamanho, suficiente para cobrir o espaço do vidro.


 TIP: Use the double-sided foamy tape to add space between the paper and the canvas. This will stop the paper from tearing when you hand your earrings. This is VERY important.

Dica: use fita dupla face com espuma, isso dá uma distância entre o papel e o plástico. Evita você perfurar o papel quando coloca o brinco.


 Place the paper with the size you want to show facing down.

Coloque o papel com a frente para baixo, é isso que vai aparecer.


 This is it!!! hope you have a lot of girl friends. Have fun!!

Related Posts Plugin for WordPress, Blogger...
Pin It button on image hover